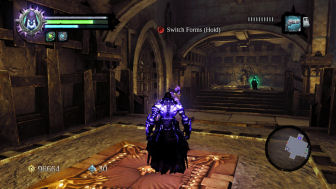
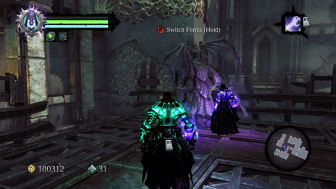
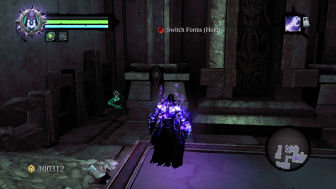
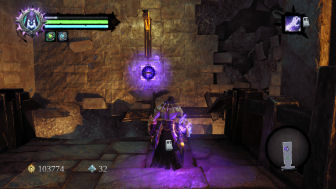
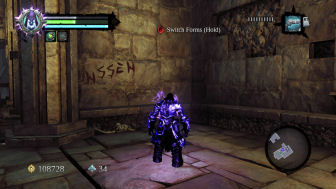
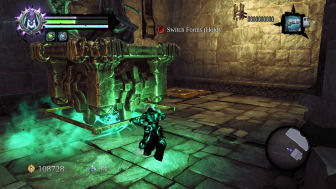
With all three Dead Lords at your command, Fast Travel to the Eternal Throne and go and speak with the Lord of Bones. After destroying his Dead Court, he will grant Death access to the City of the Dead. After speaking with the Chancellor, Death will unlock the Soul Splitter ability. This ability will allow Death to split into two halves, allowing him to solve plenty of diverse puzzles.
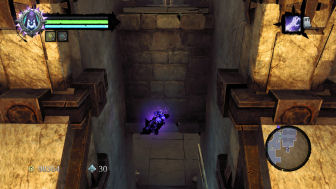
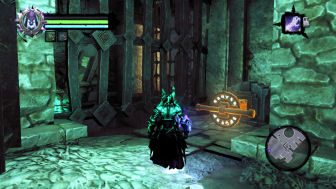
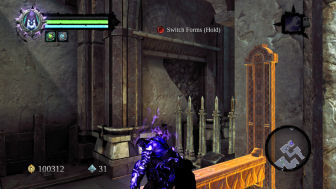
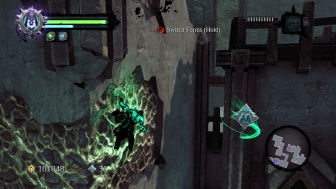
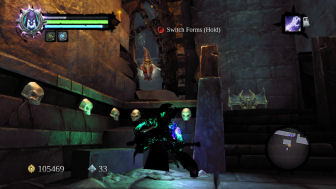
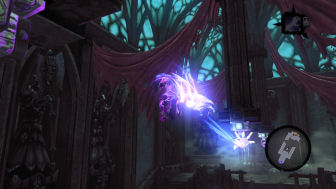
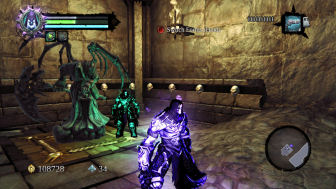
Immediately Death is confronted with a puzzle. Use your newly gained Soul Splitter ability and a giant Reaper statue will appear. Just in front of the entrance to the City of the Dead, there are two massive statues. Grab one of the nearby statues and pull it. While still holding onto it hold the proper button to switch forms. Now the other part of Death, grab onto the second massive statue, pulling it in the opposite direction.
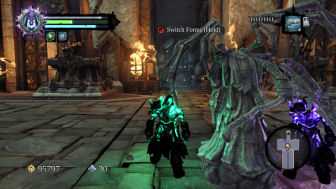
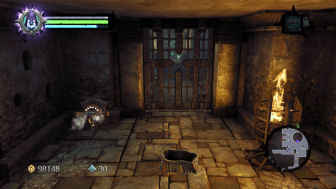
With both statues pulled, the entrance to the City of the Dead will be revealed. Use the Soul Splitter once again to revert back to one Death and then enter the City.
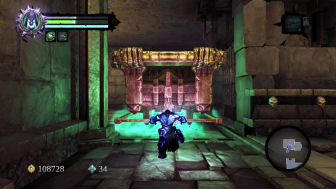
Run ahead to the next chamber and open the treasure chest a the northwest part of the room. Continue onward through the door to the north.
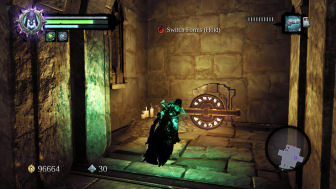
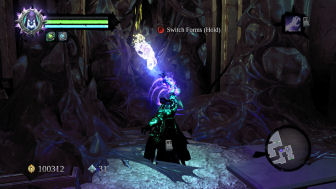
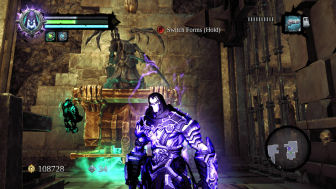
There are two Skeletal Champions in this room and then an Undead General will appear after that. With the enemies defeated, run up the northeast part of the room. Use the Soul Splitter so that the massive statue sits on the floor Switch. Now run over to the northwest part of the room and have Death stand on the floor switch here. The gate above will unlock.
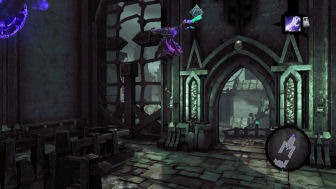
Switch forms to gain control over the other Death. Climb the hand holds at the west end of the room and push the switch to open the nearby door. Use the Soul Splitter again to return to one Death. Before continuing onward, be sure to pick up the Book of the Dead page at the southeast part of the room and then head through the door to the north.
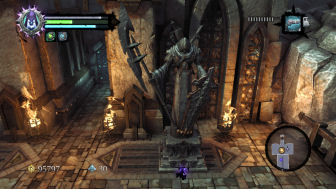
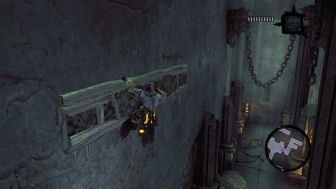
Defeat some skeletons found in this room and be sure to pickup the Relic of Renagoth at the north end near the door. Afterwards head through the passage to the west. Wall run across the gap and you’ll find a statue. There isn’t much to do so head through the door to the north.
Walk around the corner and grab onto the hand holds. Make your way over to the wooden beam and then jump across to the other beam. Wall run over and collect the Lich Spines. Continue around this corridor and head through the door.
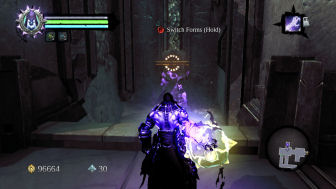
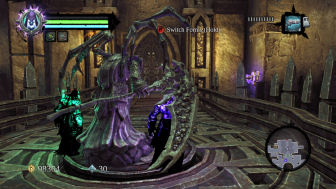
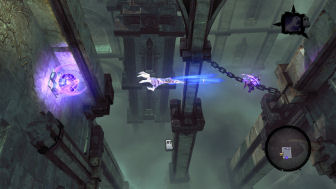
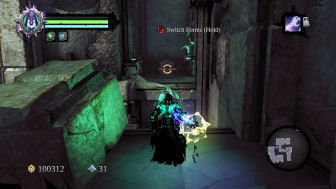
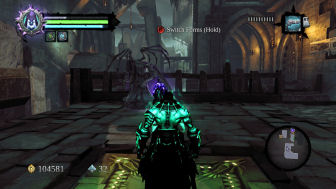
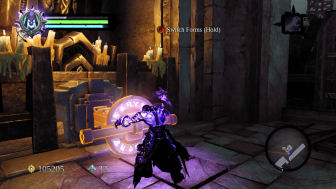
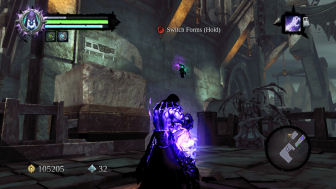
As soon as you enter this room, walk over to the east gate use the Soul Splitter to split into two. Use the first Death to pull the nearby lever and lower the gate. While holding onto the lever, switch forms and run to the adjacent room. You cannot travel too far from the statue, otherwise the souls will be too far apart and Death will return to one form.
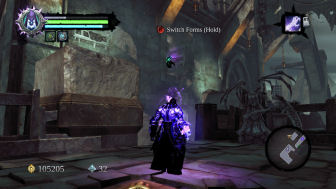
Grab the shadow bomb from the next room and then use it to hit the switch at the north end of the room. This will cause the gate to the south to lower. Return to Death’s normal form and jump onto the large floating platform here. Once again use the Soul Splitter, this time causing the large Reaper Statue to appear onto of the floating platform.
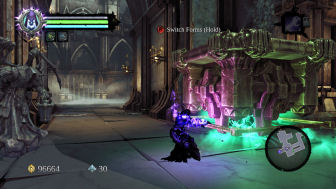
Once again pull the nearby lever, causing the gate to lower. Switch forms and use this second form to push the floating platform passed the lowered gate. Revert back to Death’s main form once the statue is passed the gate.

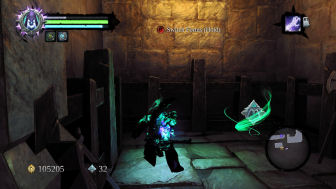
There are two floor switches in this area. Use the Soul Splitter while stepping one one of them, causing the statue to push it down. Have one of Death’s forms step on the second floor switch, while the other form collects the goodies from the treasure chest.

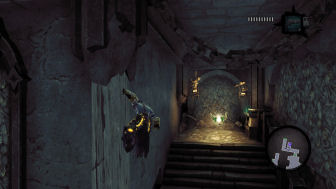
Revert back to Death’s main form and climb the steps at the south part of the room. Precede all the way to the top of the stairs to find another treasure chest. Walk back down the first set of stairs and drop down the hole.
Open the nearby treasure chest to get some more loot. Walk to the next room and open the reasure chest to get a Skeleton Key. Push the nearby switch, opening the gate that leads back to the main room.
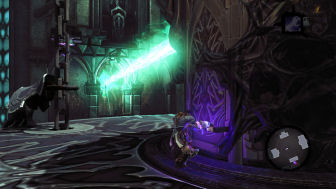
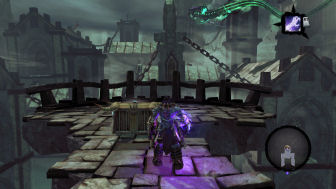
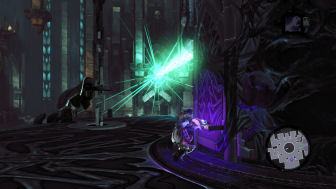
Run to the east end of the room and head through the locked door. In the center of the bridge, use the Soul Splitter so that the statue remains right here in the middle. Cross the bridge and use the Death Grip on the hoop to the right.
Examine the wall at the southwest part of the room to get a Soul Arbiter’s Scroll. Climb across the hand holds to reach the south end of the room. Jump up and perform a number of wall jumps to scale the room.
Be sure to pick up the Book of the Dead page on the east end of the room. Walk over the pull there lever to turn the bridge. Swift forms while still holding the switch.
Walk to the northern part of the room and collect the boatman coin found here. Walk around the corner and collect the goodies from the nearby treasure chest.
Climb the vines at the northwest part of the room and then use the Death Grip to swing across the gap. Open the treasure chest found here. Drop down and run around to the northwest part of the room. Quickly move around the corner as you will be moving a bit further away from reaper statue. At the end of this pathway, push the switch, causing a nearby gate to open.

Use the Soul Splitter to return back to your physical form. Travel westward back to the large chamber and then walk over the northeast part of the room. Use the Death Grip to grab onto the lantern that is across the gap.

With the lantern in hand, head back across the room and travel through the western passage once again. Drop the lantern just before the gap and then wall run across. Use the Death Grip to pickup the lantern and then place it onto the statue.
Rotate the statue so it faces southward, causing the gate to open up. Run over and collect a Book of the Dead page. Now rotate the statue so it faces the west end of the room, causing a circular bridge to appear. Cross the bridge and head through the door to the west.
Climb the vines in this room and make your way to the ceiling. The vines will hook around to another wall, so keep climbing up. Jump off the vines and use the Death Grip to latch onto the nearby vines.
Climb along the vines and then perform a wall run and wall jump to get over to the wooden beam. Drop down and open the treasure chest to get some goodies. Afterwards, head through the door to the east.
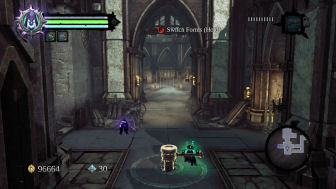
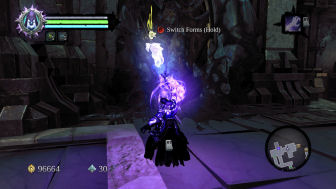
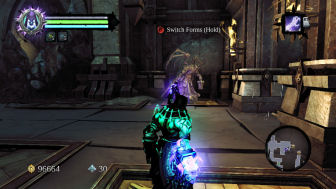
Once you enter the room, defeat the two Wraiths that ambush you. Use the Soul Splitter in the center of the room, near the L-shaped bridge. Run over to the south end of the room and collect the Relic of Etu-Goth that is hidden away and then pull the lever, causing the bridge to rotate.
Return to Death’s main form to get back to the bridge and then immediately use the Soul Splitter once again. Run to the north end of the room and jump on the large lever, causing the gate at the east end of the room to lower.
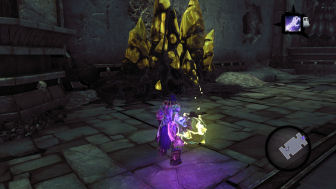
Switch forms and grab a shadow bomb from the north end of the room. Run across the bridge and toss the shadow bomb at the switch to the northeast. If you run to the southeast part of the room you’ll encounter two additional Wraiths that are guardian a treasure chest. Defeat them and on your way back you will see some vines. Climb the vines and make your way around to find a boatman coin. Revert back to your normal Death form. Run over and head through the door at the northeast part of the room.
In this next room perform a series of wall runs and wall jumps to make your way around this room. Push the switch in and head through the nearby door that unlocks. Back in the main room, now on the second floor, make your way across to the other side and head through the door.
You are back in a familiar room, but again, on the second floor. Push in the nearby switch and it will lower the nearby gate and unlock the door. Travel downward and head through the door to the east.
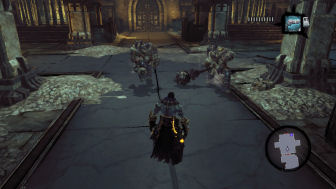
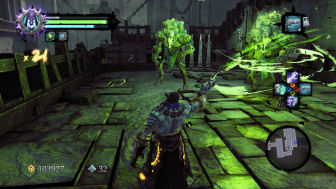
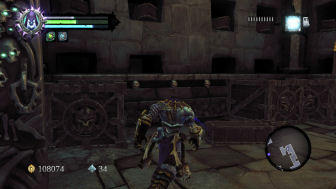
Walk forward and you’ll see three Tormentor’s behind the gates. Before even battling with these giant foes, three Wraiths appear! It’s quite a challenge, but use your various spells, abilities, and evasion tactics to defeat the wraiths. After the wraiths are done away with, an Undead General will jump into the arena. After the General is done away with, Death will battle with a Tormentor… and then a second Tormentor… in which a third Tormentor will join the battle before the second is defeated. After the enemy gauntlet is done, open the two treasure chests and continue onward to the next room.
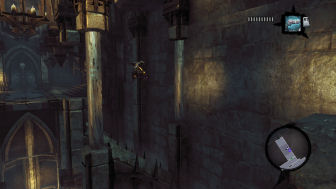
Use the Death Grip and grapple over to the hoop. Death will settle on the lever, which causes the fire-filled elevator below to start moving upward. There is a heck of a lot of traversing in this area, involving a lot of wall jumps and uses of the Death Grip. In one spot, you’ll even need to drop down below, traverse across, and then continue climbing. It’s fairly straight forward the path you need to take, and it’s just a race against time. Once you successfully make it to the top, pull the lever and head through to the next room.

In this next room, turn to the left and run across the wall to reach a treasure chest containing the dungeon map. Walk southward and you’ll get ambushed by two undead prowlers and an undead stalker. Defeat them using whichever tactics you’d like and then climb the steps.
You’ll encounter two enemy Abominations. These creatures are slow moving and will vomit out this poisonous goo towards you. Dodge the attack and unleash a fury of your own attacks. Ghouls and Redemption work well against these slow moving creatures. Continue scaling the room and defeat the three Lich creatures in the next area. Finally, head through the door to the west.
Once you enter this room, drop down to the floor below and open the treasure chest for some goodies. Climb back up and then use a wall run along the wall to the north to reach a wooden beam. Jump across the beams and head through the door to the west to get back to a higher floor of the main chamber. There is not much to do here right now, so head through the door to the west.
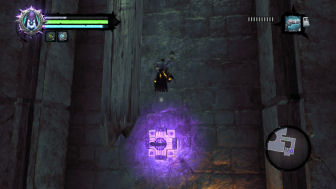
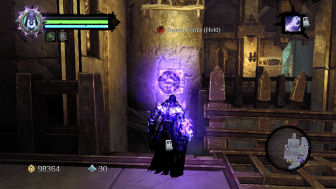
Walk through the corridor here and defeat the skeletons. Wall run and use the Death grip to scale the wall. Jump over to a wooden beam and keep progressing to reach the higher platform to the north. Use the Soul Splitter on this higher platform, but not on the floor switch. Step on the floor switch with one of the forms of Death and then switch over to the other form.
Climb the hand holds at the southern wall to reach a treasure chest with some goodies. Run back to the reaper statue and use the Death Grip on the nearby wall loop. Scale across to the northern platform and push in the switch.
Climb back up to the wooden peg and run over to the first hand hold. While holding onto this hand hold, switch back to the other form and step of the switch. This will cause the other form to rotate, along with the wall.
Switch back to the other Death and collect the boatman coin nearby. Walk down the stairs and open the treasure chest to get some loot. Be sure to pickup the Gnome figurine known as GnoMAD’s Nome. Revert back to your physical form to get back to where the statue was.
The door at the south end of the room is now open, so climb on over and head through. Push the nearby switch in, lowering the gate and use the Death Grip to hook over to the large hanging platform. Rotate the massive statue so it faces westward. Death Grip across the gap and head through the door.

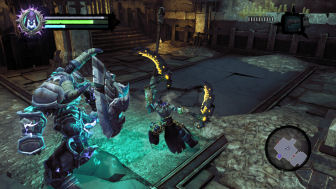
There are a series of Undead Scarab Hulks in this room, but they shouldn’t give you much trouble. After the enemies have been defeated, grab the shadow bomb and blowup the corruption crystals. Climb the vines to reach the upper balcony. Run to the west end of the room and open the treasure chest to get a Skeleton Key.
Use the Death Grip hoops to get to the east end of the room where a treasure chest awaits. If you swing back across to the west end of the room, you’ll be able to reach a boatman coin that is a bit higher up. Jump off the ledge and return to the previous room.
Drop down to the floor below and then use the pegs at the east wall to scale up to the locked door. Break the crates to the left to get a Book of the Dead page. Climb the hand holds and wall run across the room.
There are more hand holds found in this area. Use some basic traversal mechanics and wall jump to reach a distant hand hold. If you glance at your map, there is a treasure chest on a nearby higher ledge. Run along the hand holds and open it for some goodies.
Run back across the hand holds and you’ll reach a wooden beam. Drop down once again and you’ll find two switches. Use the Soul Splitter while standing on one, and have one of the Death’s stand on the other. Using the other form, climb the wall to reach this area with the moveable platform.
Glance at the nearby wall to get another Soul Arbiter’s Sacred Scroll. Grab onto the moveable platform and pull it eastward beyond the gate. Return to Death’s normal form and then climb back up to the moveable platform. Jump on top of the moveable platform and use the Soul Splitter so the reaper statue sits on top of the moveable platform.
Drop down and have Death stand on the floor tile at the south end of the room. Change forms and have the second Death push the moveable platform through the open gate. Switch forms once again and have Death stand on the other floor switch. Finally, switch forms and push the moveable platform along with the reaper statue to the northwest part of the room. Revert back to Death’s normal form and make sure the moveable statue is on top of the nearby floor switch. Go through the nearby door.
Push the switch nearby to lower the gate. Grab the shadow bomb and toss it at the corruption crystal near the center platform. Death Grip across and land back on this higher platform. Push that switch in and the entire platform will lower several floors down.
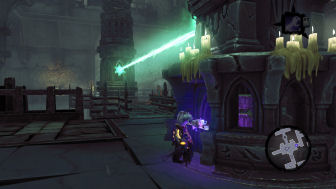
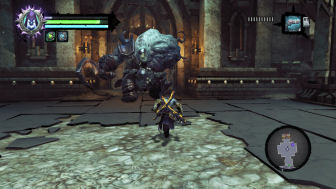
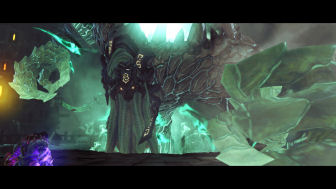
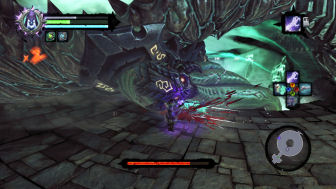
Turn the statue so the light is shining to the north end of the room. Run onward and head through the door. Break many of the crates to collect some goodies and once you are ready, progress to the next room to take on the dungeon boss, The Wailing Host.
The Wailing Host will attack Death by slamming its arms to the ground and swiping towards him. The first swipe attacks the area near the Wailing Host, while the second swipe attacks along the perimeter.
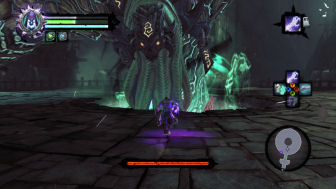
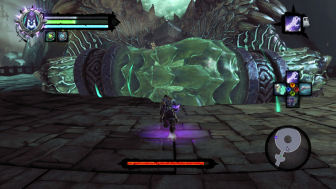
Avoid the attacks and slash away at the Wailing Host. You can attack its hands or pretty much any part of the body that you can reach. Just keep avoiding its attacks and continue dealing damage of your own. After several attacks, the Wailing Host will get stunned and will fall to the ground. Slash away to weaken it some more.

When the Wailing Host has taken some damage, it will fall down into its central hole. The boss will summon a group of skeletons, sending them your way. Defeat a rounds of these boney creatures and the Wailing Host will come back up.
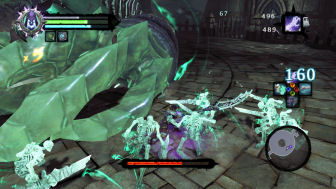
The next phase is similar to its first phase except the skeletons will harass you while you attack the host. Just keep repeating the same process. Eventually, as the Wailing Host gets weaker, the action will pop up on screen. Press it and Death will run up and tear off the giant mask.
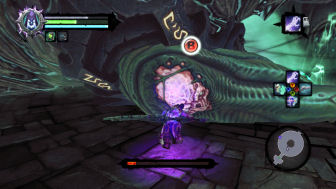
The Wailing Host will now have one final attack, where a small green circle appears and a massive creatures comes out from it, dealing damage. Whenever you see this green circle quickly dash out of the way. Do some more damage until the action button pops up on the screen, in which Death will finish off the boss.
Run through the door to find a familiar pal. After a short discussion, Death is told to once again seek the Tree.
Game Revolution
